


This guide shows you how to put together your own Raspberry Pi based tally lights for Blackmagic Design ATEM
This build guide is created specifically for our tally light solution for Blackmagic Design’s ATEM switchers using a Raspberry Pi Zero W.
There are many ways to put this device together. While we are using Raspberry Pi Zero W in this guide, you can use any Raspberry Pi boards with the 40-pin GPIO including the modern Raspberry Pi 4.
Tools:
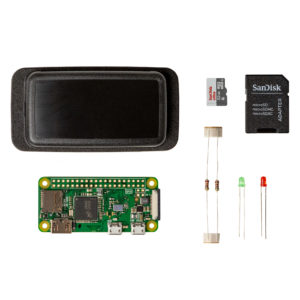
Parts:
Skip ahead to Step 2 if you purchased our DIY kit, as that already comes with a pre-prepared memory card and all the parts you need
Download and install the Raspberry Pi imager from the Raspberry Pi Foundation website.
Download and open the image file. It should automatically launch the Raspberry Pi imager.
Insert the microSD card into your computer’s card reader
Select the memory card that you’ve just inserted in the imaging software
Select “Write” to start imaging the card
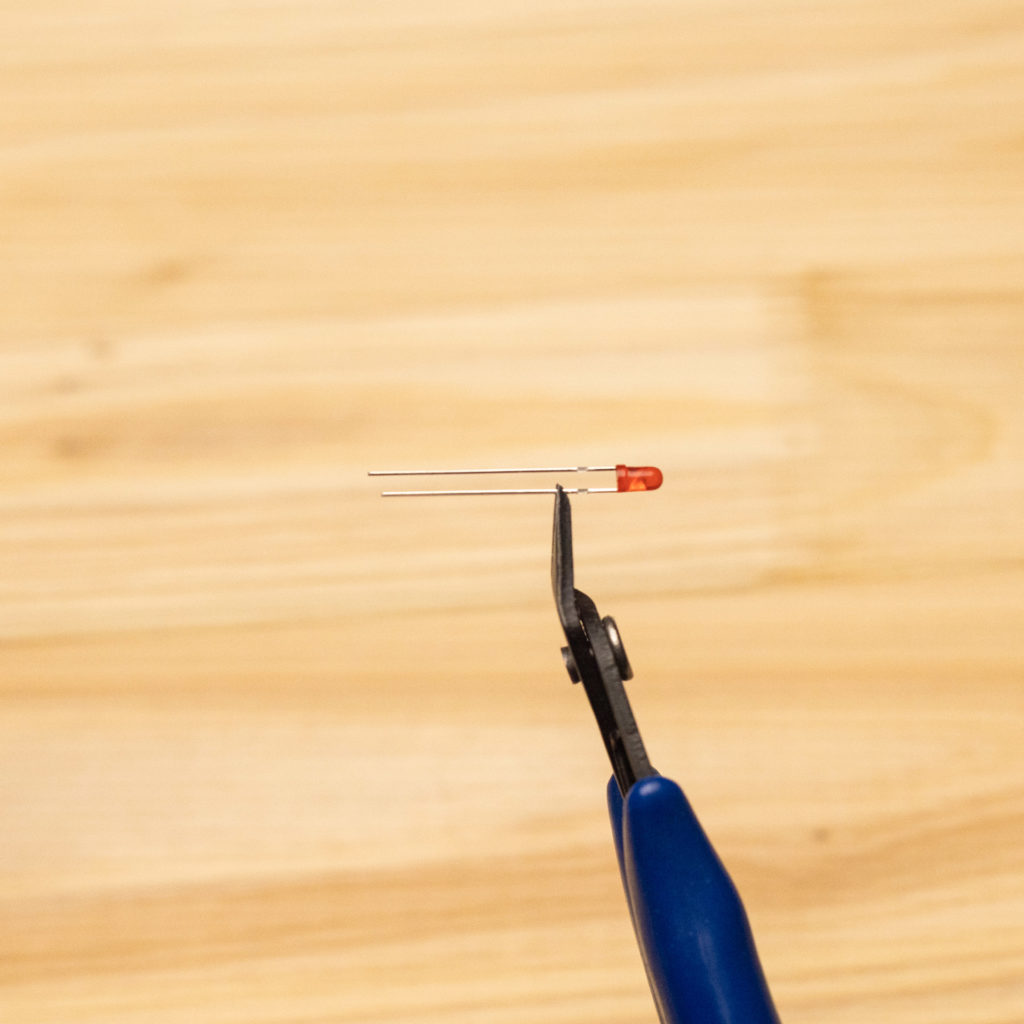
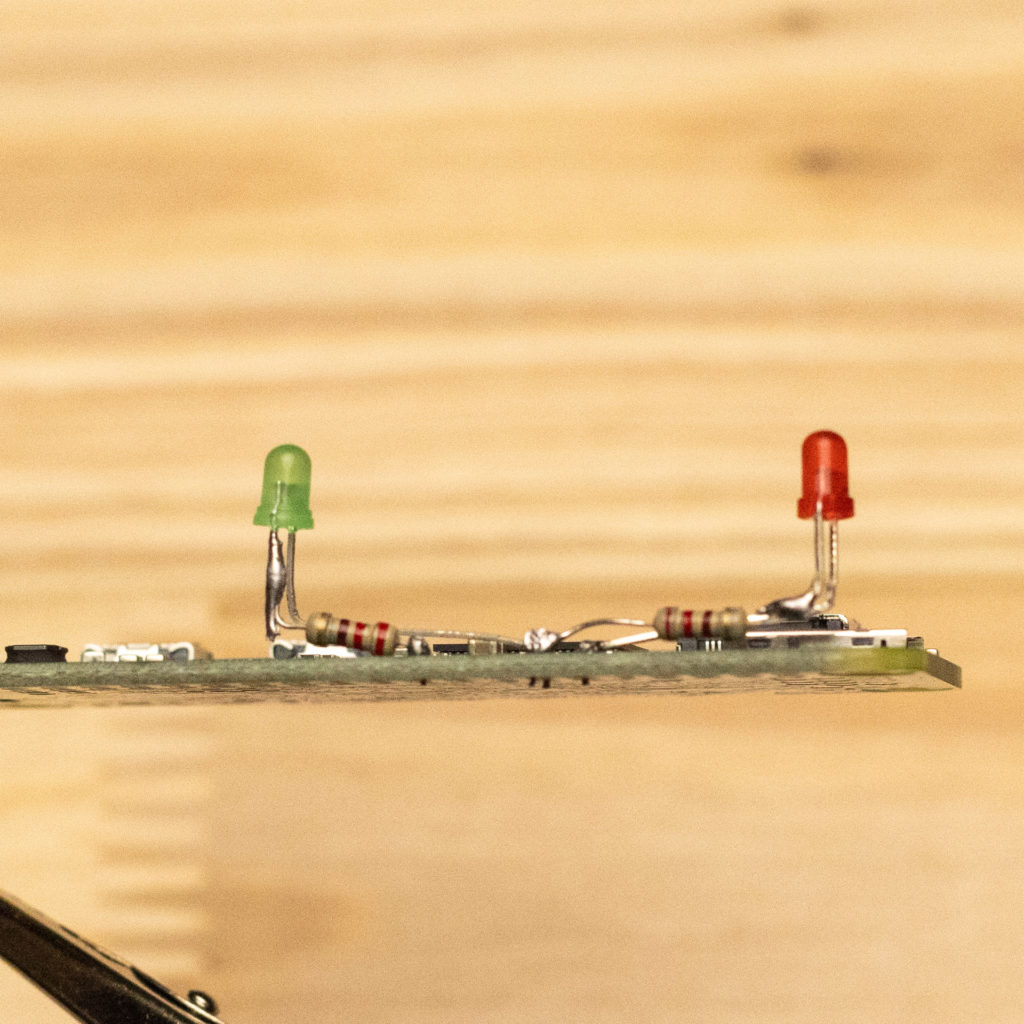
Trim off the cathode (shorter) end of the LED
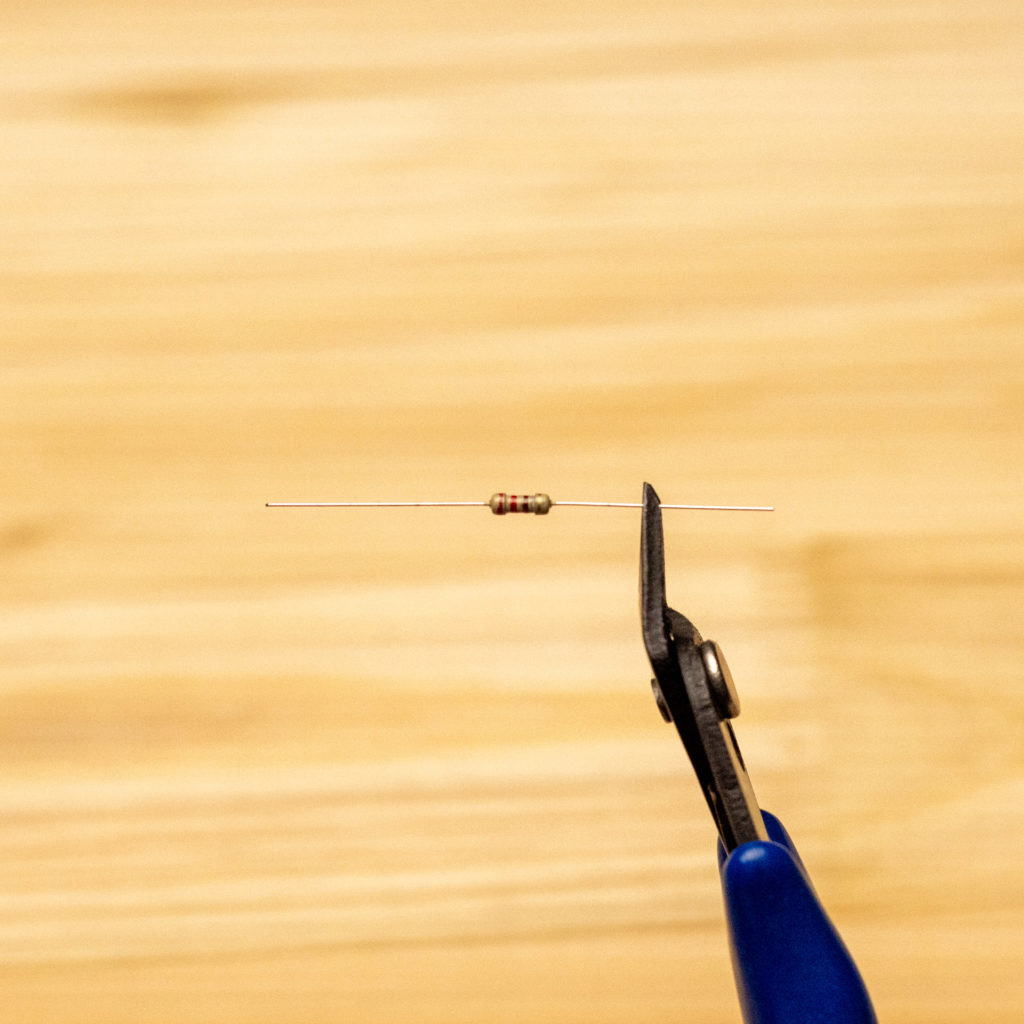
Trim off one side of the pull down resistor
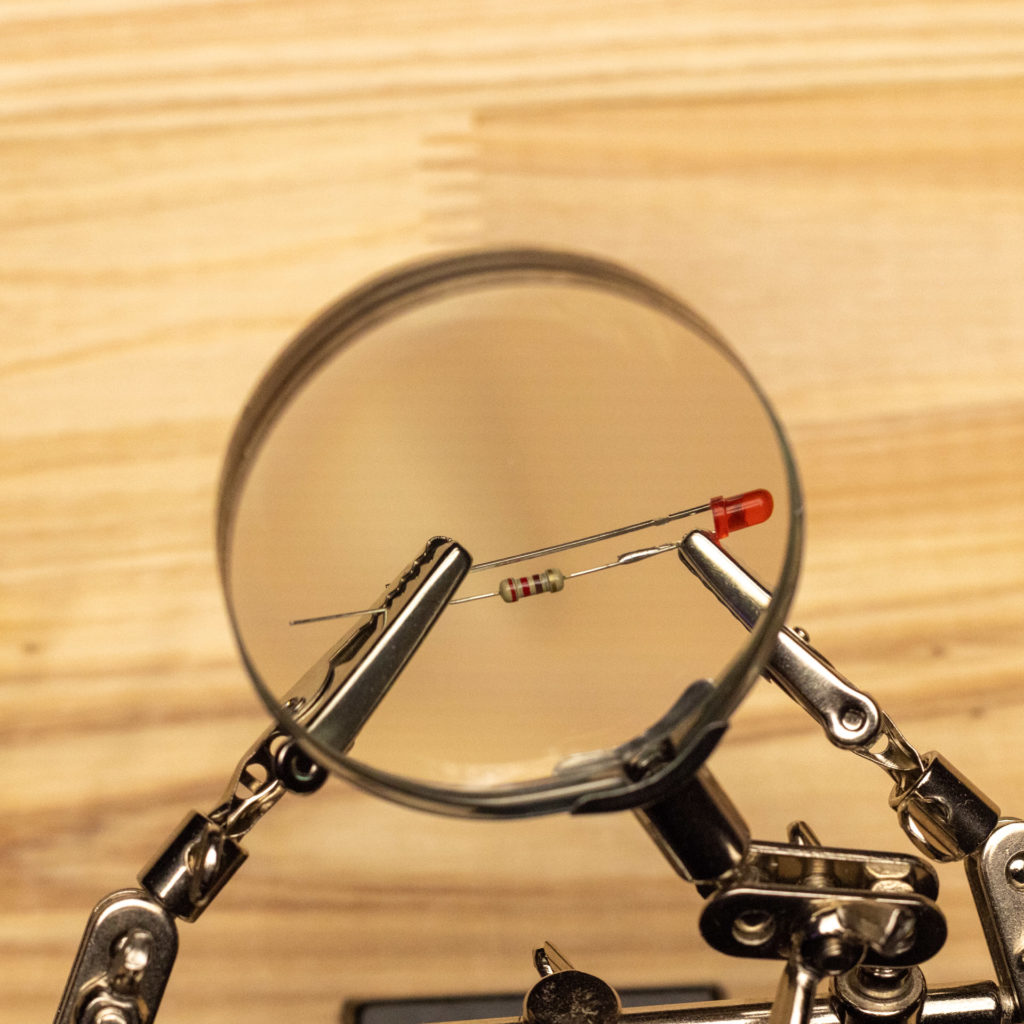
Solder the resistor to shorter end of the LED that you have just trimmed off
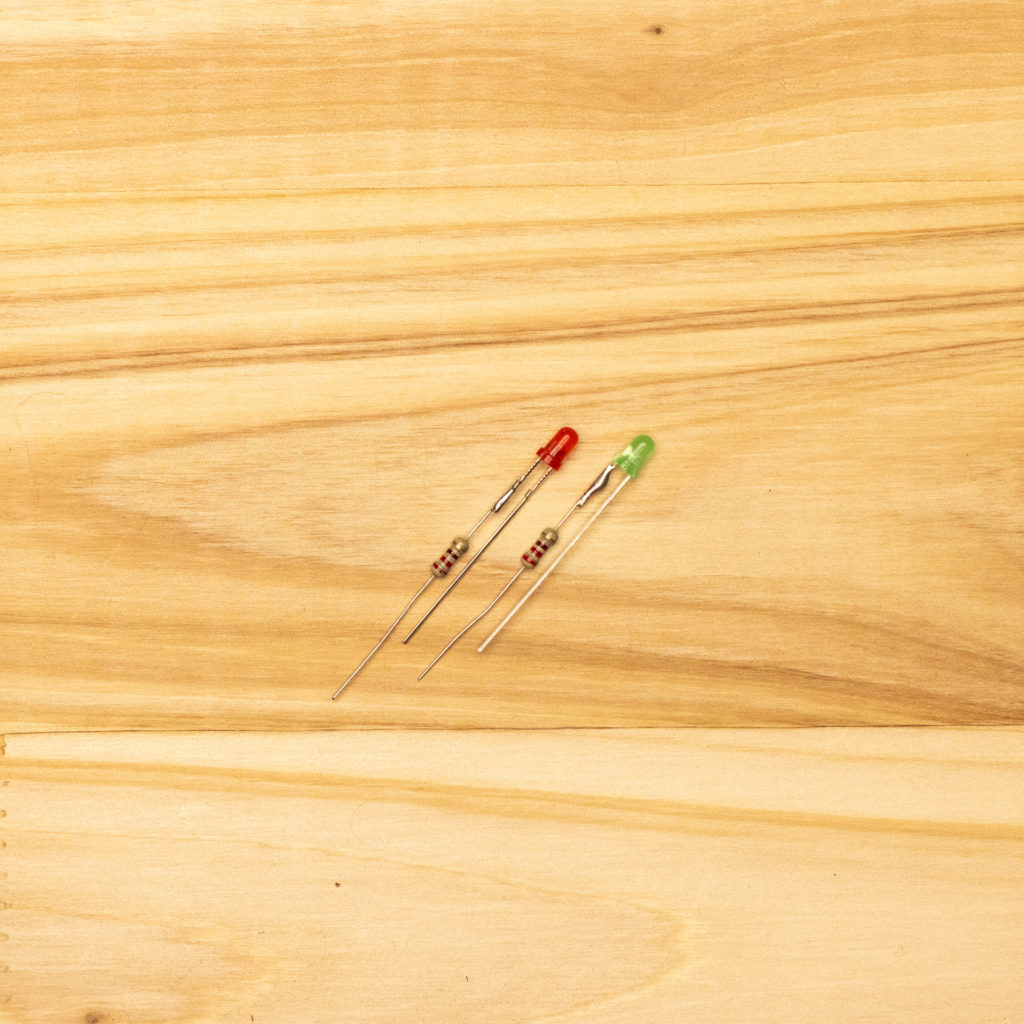
Repeat the same process for the 2nd LED as well
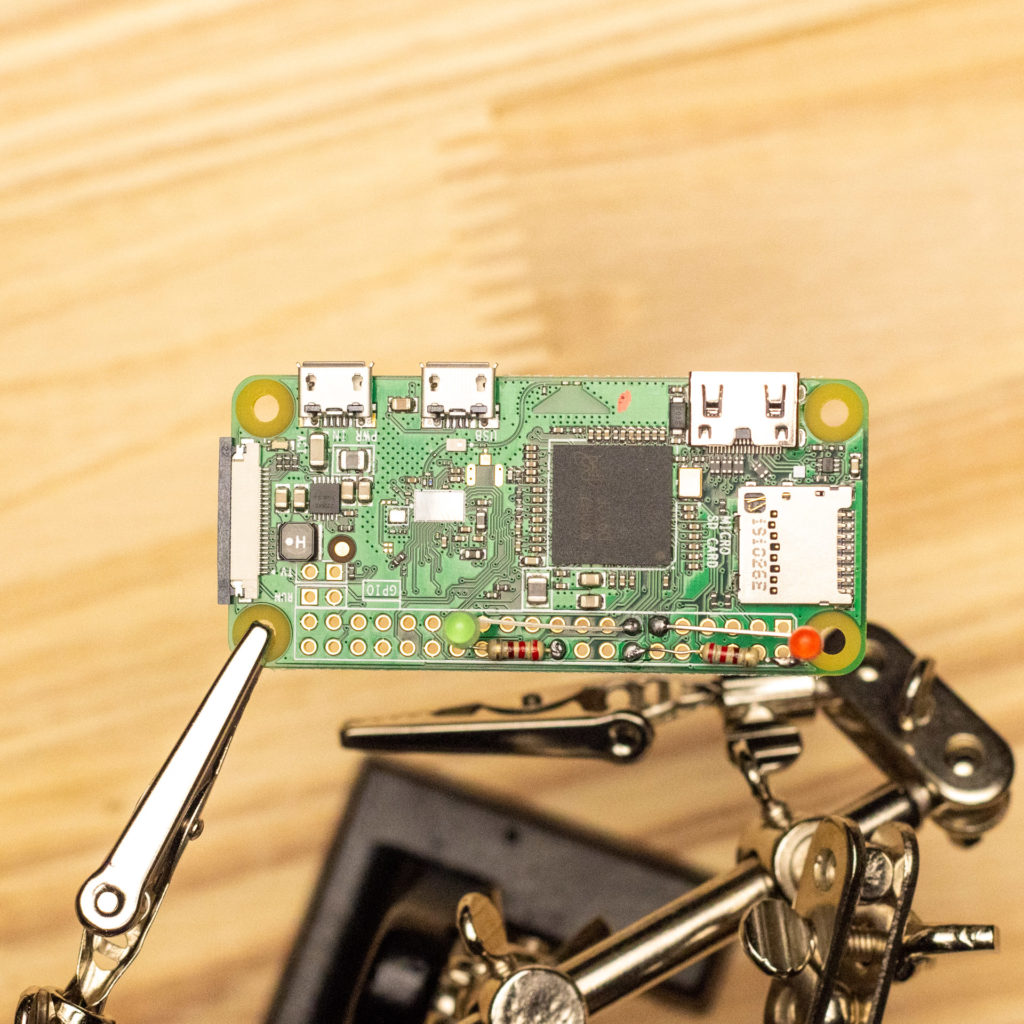
Place your assembled LEDs on the Raspberry Pi board using the following pins.
Program LED anode: GPIO 17 (pin 11)
Program LED pull down resistor: any ground pin (pin 14 used in this example)
Preview LED anode: GPIO 27 (pin 13)
Preview LED pull down resistor: any ground pin (pin 20 used in this example)
You may have to bend the pins or use hook up wires instead to locate the LEDs where you want them.
Apply solder and trim off any excess wiring
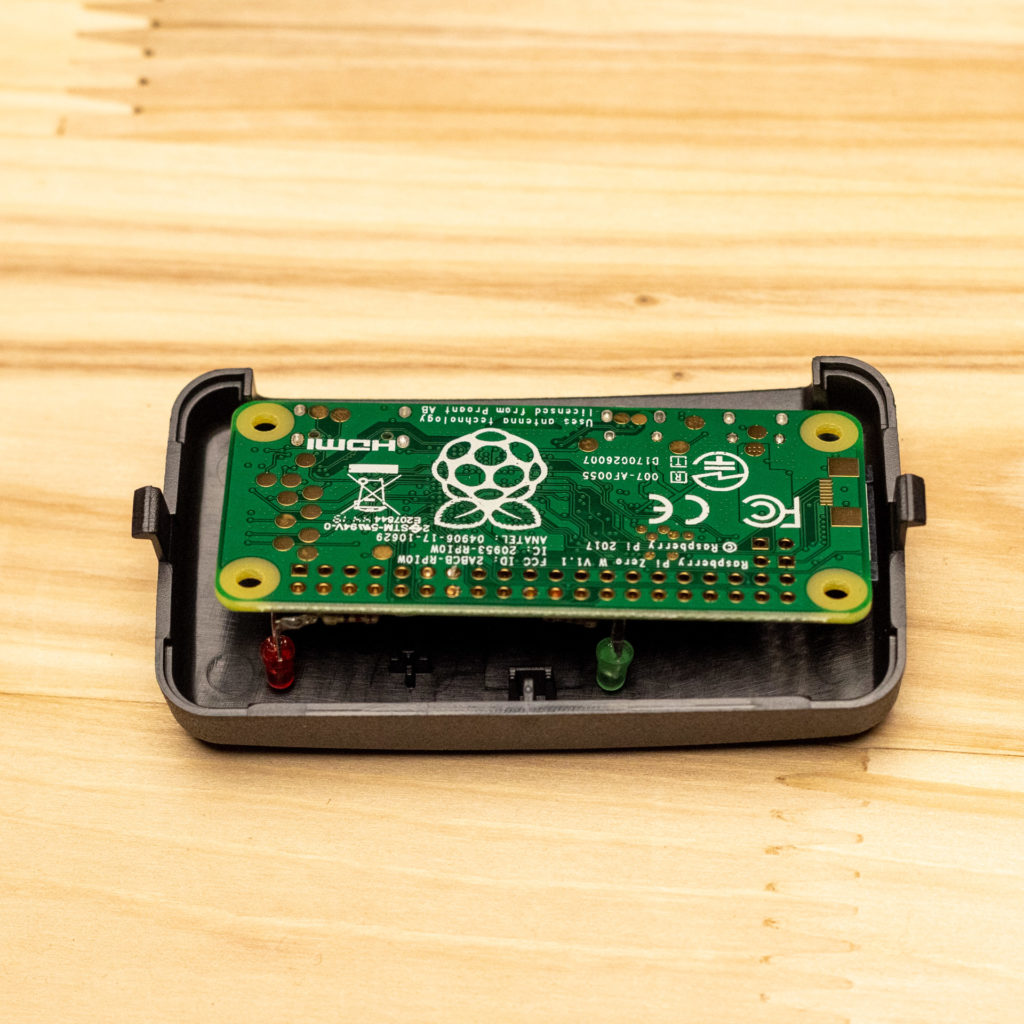
Mark the location of where you’ll be drilling the holes in the casing
Drill holes in the location you have marked.
We usually like to start with a 1/16″ drill bit to help centering the hole, and then finish with the 1/8″ drill bit (assuming you are using the 3mm LEDs supplied in our kits)
Insert the imaged microSD card, and place the circuit board into the enclosure.
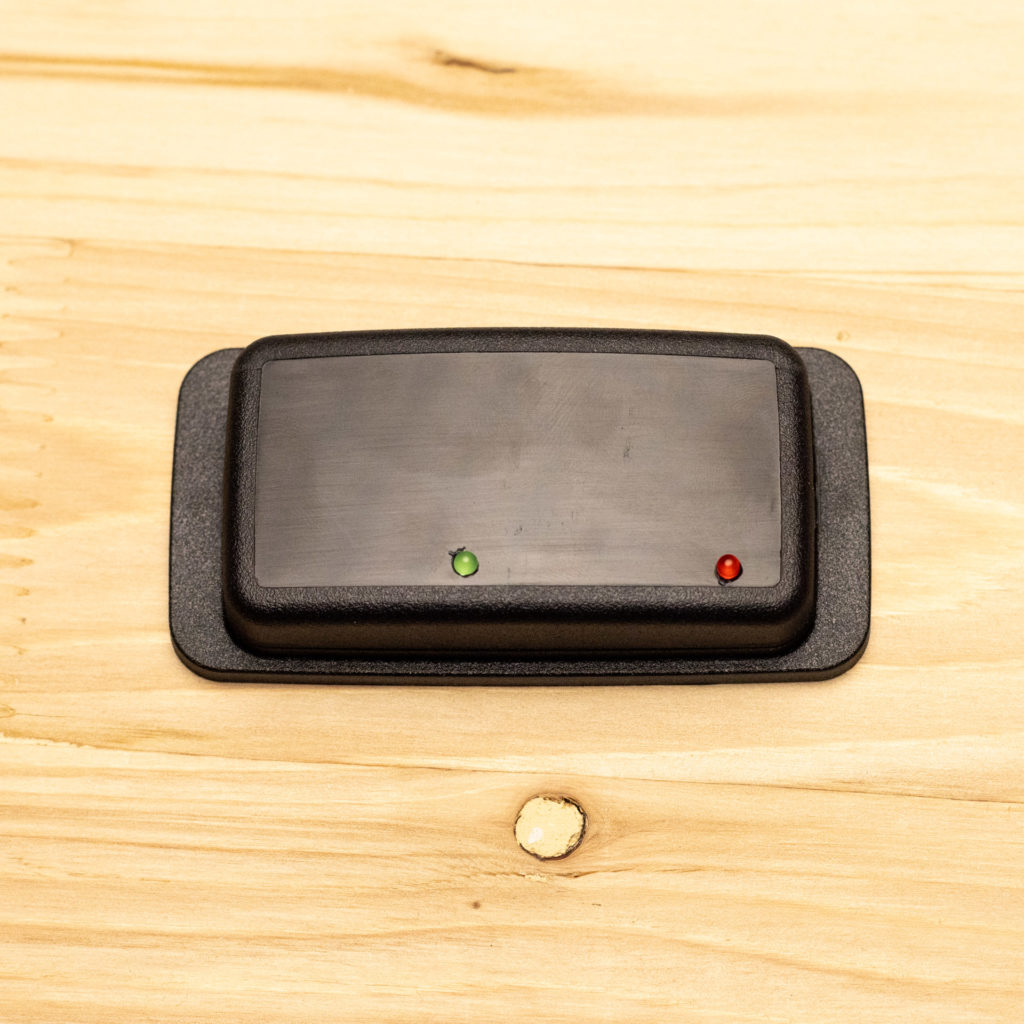
Plug in the power supply to boot up the Raspberry Pi.
If you have one of our pre-imaged SD cards, wait about 60 seconds for the the device to boot up.
If you imaged your own card, you’ll need to wait for about 5-10 minutes before you can start using it as the image needs to perform a set up process on first boot. The device will reboot multiple times during this process.
When both the program and preview LEDs stay on for more than a minute, this means that your device is all set up and ready to go.
If only one LED comes on or none comes on, you’ll have to go back and check your work. 🙁
Finish setting up your Raspberry Pi over the WiFi network with the instructions on the main page.
That’s all there is to putting this together!
You can show your support for the further development of this application by purchasing one of the Raspberry Pi kits from us.
If you think that this is too much work, don’t worry! We carry an inventory of pre-assembled units as well.
Permission is hereby granted, free of charge, to any person obtaining a copy of this software and associated documentation files (the “Software”), to deal in the Software without restriction, including without limitation the rights to use, copy, modify, merge, publish, distribute, sublicense, and/or sell copies of the Software, and to permit persons to whom the Software is furnished to do so, subject to the following conditions:
The above copyright notice and this permission notice shall be included in all copies or substantial portions of the Software.
THE SOFTWARE IS PROVIDED “AS IS”, WITHOUT WARRANTY OF ANY KIND, EXPRESS OR IMPLIED, INCLUDING BUT NOT LIMITED TO THE WARRANTIES OF MERCHANTABILITY, FITNESS FOR A PARTICULAR PURPOSE AND NONINFRINGEMENT. IN NO EVENT SHALL THE AUTHORS OR COPYRIGHT HOLDERS BE LIABLE FOR ANY CLAIM, DAMAGES OR OTHER LIABILITY, WHETHER IN AN ACTION OF CONTRACT, TORT OR OTHERWISE, ARISING FROM, OUT OF OR IN CONNECTION WITH THE SOFTWARE OR THE USE OR OTHER DEALINGS IN THE SOFTWARE.
“Blackmagic Design” and “ATEM” are trademarks of Blackmagic Design Pty. Ltd. All trademarks are property of their respective owners.
Raspberry Pi is a trademark of the Raspberry Pi Foundation.
| Cookie | Duration | Description |
|---|---|---|
| __cf_bm | 30 minutes | This cookie, set by Cloudflare, is used to support Cloudflare Bot Management. |
| __hssc | 30 minutes | HubSpot sets this cookie to keep track of sessions and to determine if HubSpot should increment the session number and timestamps in the __hstc cookie. |
| Cookie | Duration | Description |
|---|---|---|
| AWSALB | 7 days | AWSALB is an application load balancer cookie set by Amazon Web Services to map the session to the target. |
| Cookie | Duration | Description |
|---|---|---|
| __hstc | 5 months 27 days | This is the main cookie set by Hubspot, for tracking visitors. It contains the domain, initial timestamp (first visit), last timestamp (last visit), current timestamp (this visit), and session number (increments for each subsequent session). |
| _ga | 2 years | The _ga cookie, installed by Google Analytics, calculates visitor, session and campaign data and also keeps track of site usage for the site's analytics report. The cookie stores information anonymously and assigns a randomly generated number to recognize unique visitors. |
| _ga_Q1QMEJ6RPX | 2 years | This cookie is installed by Google Analytics. |
| _gat_gtag_UA_1694368_7 | 1 minute | Set by Google to distinguish users. |
| _gcl_au | 3 months | Provided by Google Tag Manager to experiment advertisement efficiency of websites using their services. |
| _gid | 1 day | Installed by Google Analytics, _gid cookie stores information on how visitors use a website, while also creating an analytics report of the website's performance. Some of the data that are collected include the number of visitors, their source, and the pages they visit anonymously. |
| _hjAbsoluteSessionInProgress | 30 minutes | Hotjar sets this cookie to detect the first pageview session of a user. This is a True/False flag set by the cookie. |
| _hjFirstSeen | 30 minutes | Hotjar sets this cookie to identify a new user’s first session. It stores a true/false value, indicating whether it was the first time Hotjar saw this user. |
| _hjIncludedInPageviewSample | 2 minutes | Hotjar sets this cookie to know whether a user is included in the data sampling defined by the site's pageview limit. |
| _hjIncludedInSessionSample | 2 minutes | Hotjar sets this cookie to know whether a user is included in the data sampling defined by the site's daily session limit. |
| CONSENT | 2 years | YouTube sets this cookie via embedded youtube-videos and registers anonymous statistical data. |
| hubspotutk | 5 months 27 days | HubSpot sets this cookie to keep track of the visitors to the website. This cookie is passed to HubSpot on form submission and used when deduplicating contacts. |
| tk_ai | 5 years | JetPack sets this cookie to store a randomly-generated anonymous ID which is used only within the admin area and for general analytics tracking. |
| tk_lr | 1 year | The tk_lr is a referral cookie set by the JetPack plugin on sites using WooCommerce, which analyzes referrer behaviour for Jetpack. |
| tk_or | 5 years | The tk_or is a referral cookie set by the JetPack plugin on sites using WooCommerce, which analyzes referrer behaviour for Jetpack. |
| tk_qs | 30 minutes | JetPack sets this cookie to store a randomly-generated anonymous ID which is used only within the admin area and for general analytics tracking. |
| tk_r3d | 3 days | JetPack installs this cookie to collect internal metrics for user activity and in turn improve user experience. |
| tk_tc | session | JetPack sets this cookie to record details on how user's use the website. |
| vuid | 2 years | Vimeo installs this cookie to collect tracking information by setting a unique ID to embed videos to the website. |
| Cookie | Duration | Description |
|---|---|---|
| _fbp | 3 months | This cookie is set by Facebook to display advertisements when either on Facebook or on a digital platform powered by Facebook advertising, after visiting the website. |
| NID | 6 months | NID cookie, set by Google, is used for advertising purposes; to limit the number of times the user sees an ad, to mute unwanted ads, and to measure the effectiveness of ads. |
| test_cookie | 15 minutes | The test_cookie is used to determine if the user's browser supports cookies. |
| Cookie | Duration | Description |
|---|---|---|
| _hjSessionUser_1732957 | 1 year | No description |
Name:
Type:
View